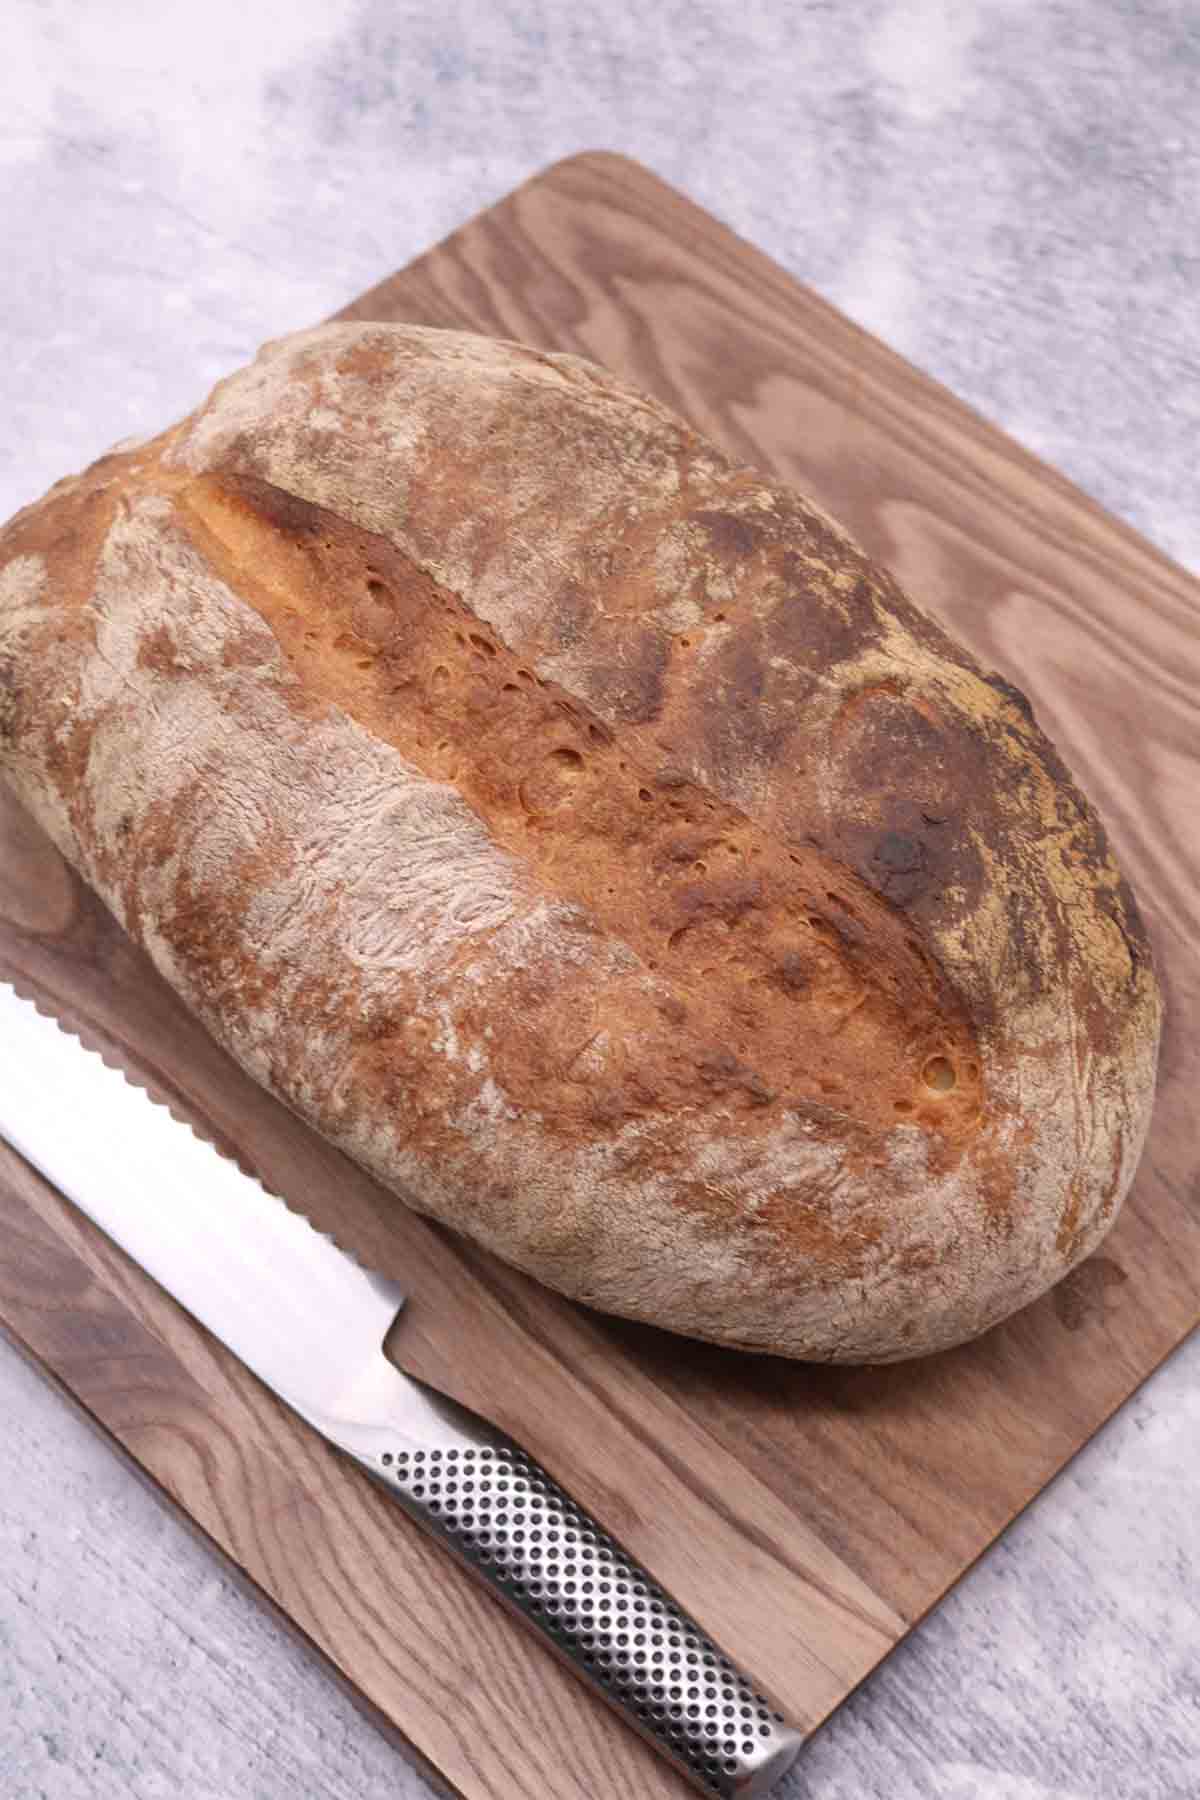
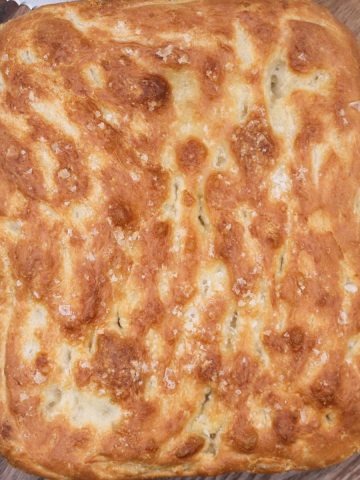
Our good friend Julie recommended this Portuguese water bread made in the Thermomix to us back in March this year. We've now made it LOADS of times...we absolutely love it, and I'm now finally posting it!!
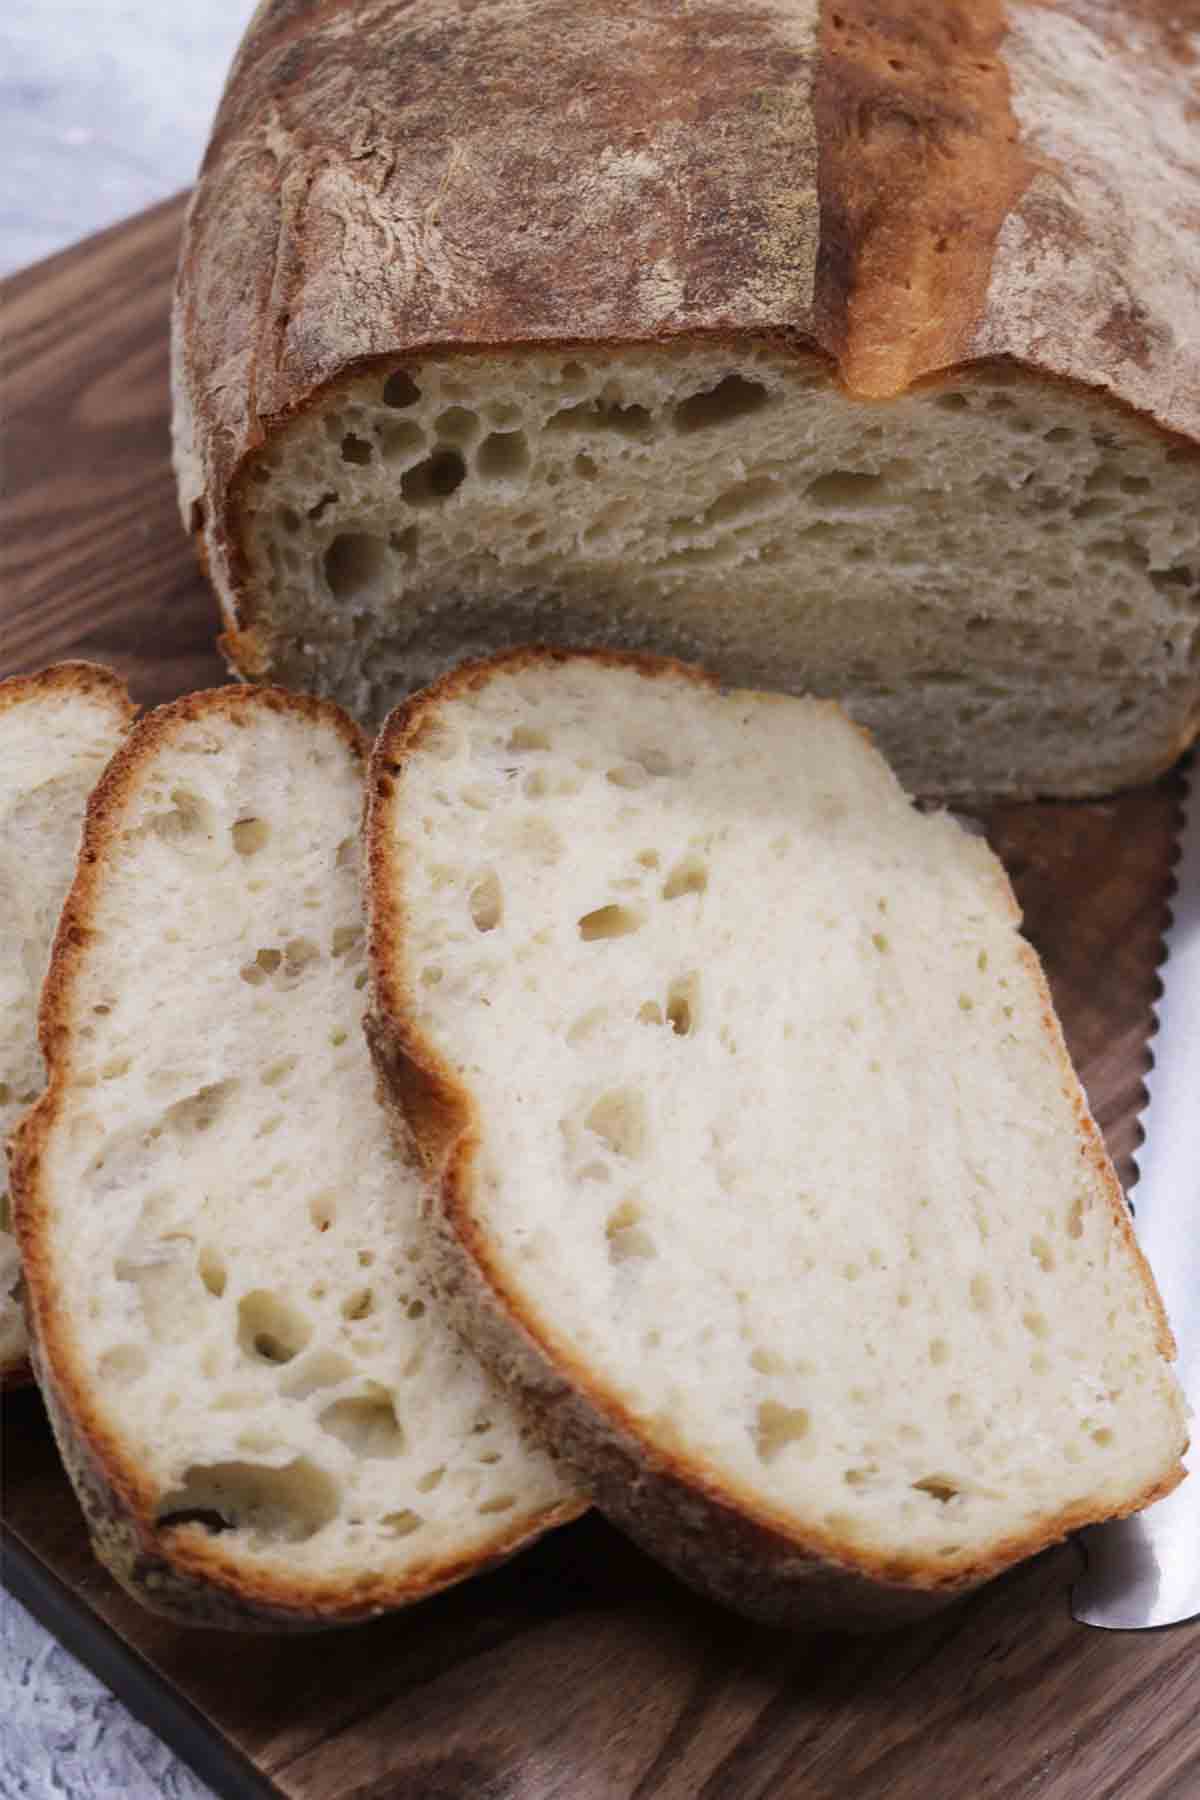
It's incredibly easy to make, tastes amazing and everyone who's tasted it (including work colleagues I've taken it into, for special lunches/birthday celebrations) love it too! Enjoy it simply spread with butter, made into a sandwich or enjoy on days 2 and maybe 3...if there's any left...toasted with butter for breakfast...the crust is super crunchy and delicious.
If you don't have a Thermomix and would like to try making this recipe, please scroll down for the Non-Thermomix Instructions I have suggested.
Cookidoo Tip
- Some ovens don't go up to 250C fan, so bake your Portuguese water bread at 230C fan for 35 to 45 minutes until the loaf sounds hollow when tapped underneath.
Other recipes you might also like to try
Click here for all bread recipes.
Recent New Recipes


Category Spotlight...
GREEK RECIPES
We love Greek flavours of feta, oregano, lemon and olive oil...you'll find some delicious recipes here!
Recipe on UK Cookidoo
If you don't have the Cookidoo app for your Thermomix, follow the recipe below:
Ingredients
- 550g water
- 720g strong white bread flour, plus extra for dusting
- 1 tsp (7g) sachet dried instant yeast, or 10g fresh yeast, crumbled
- 10g salt
Instructions
- Place the water and flour in the mixing bowl then mix for 20 seconds/speed 6. Leave to hydrate for 40 minutes.
- Add the yeast and salt (on separate sides of the dough) then knead the dough for 6 minutes. Leave to rest in the mixing bowl until doubled in size (approx. 2 hours). After 1.5 hours, preheat the oven to 270C/250C fan (see Cookidoo Tip) and dust a baking tray with flour.
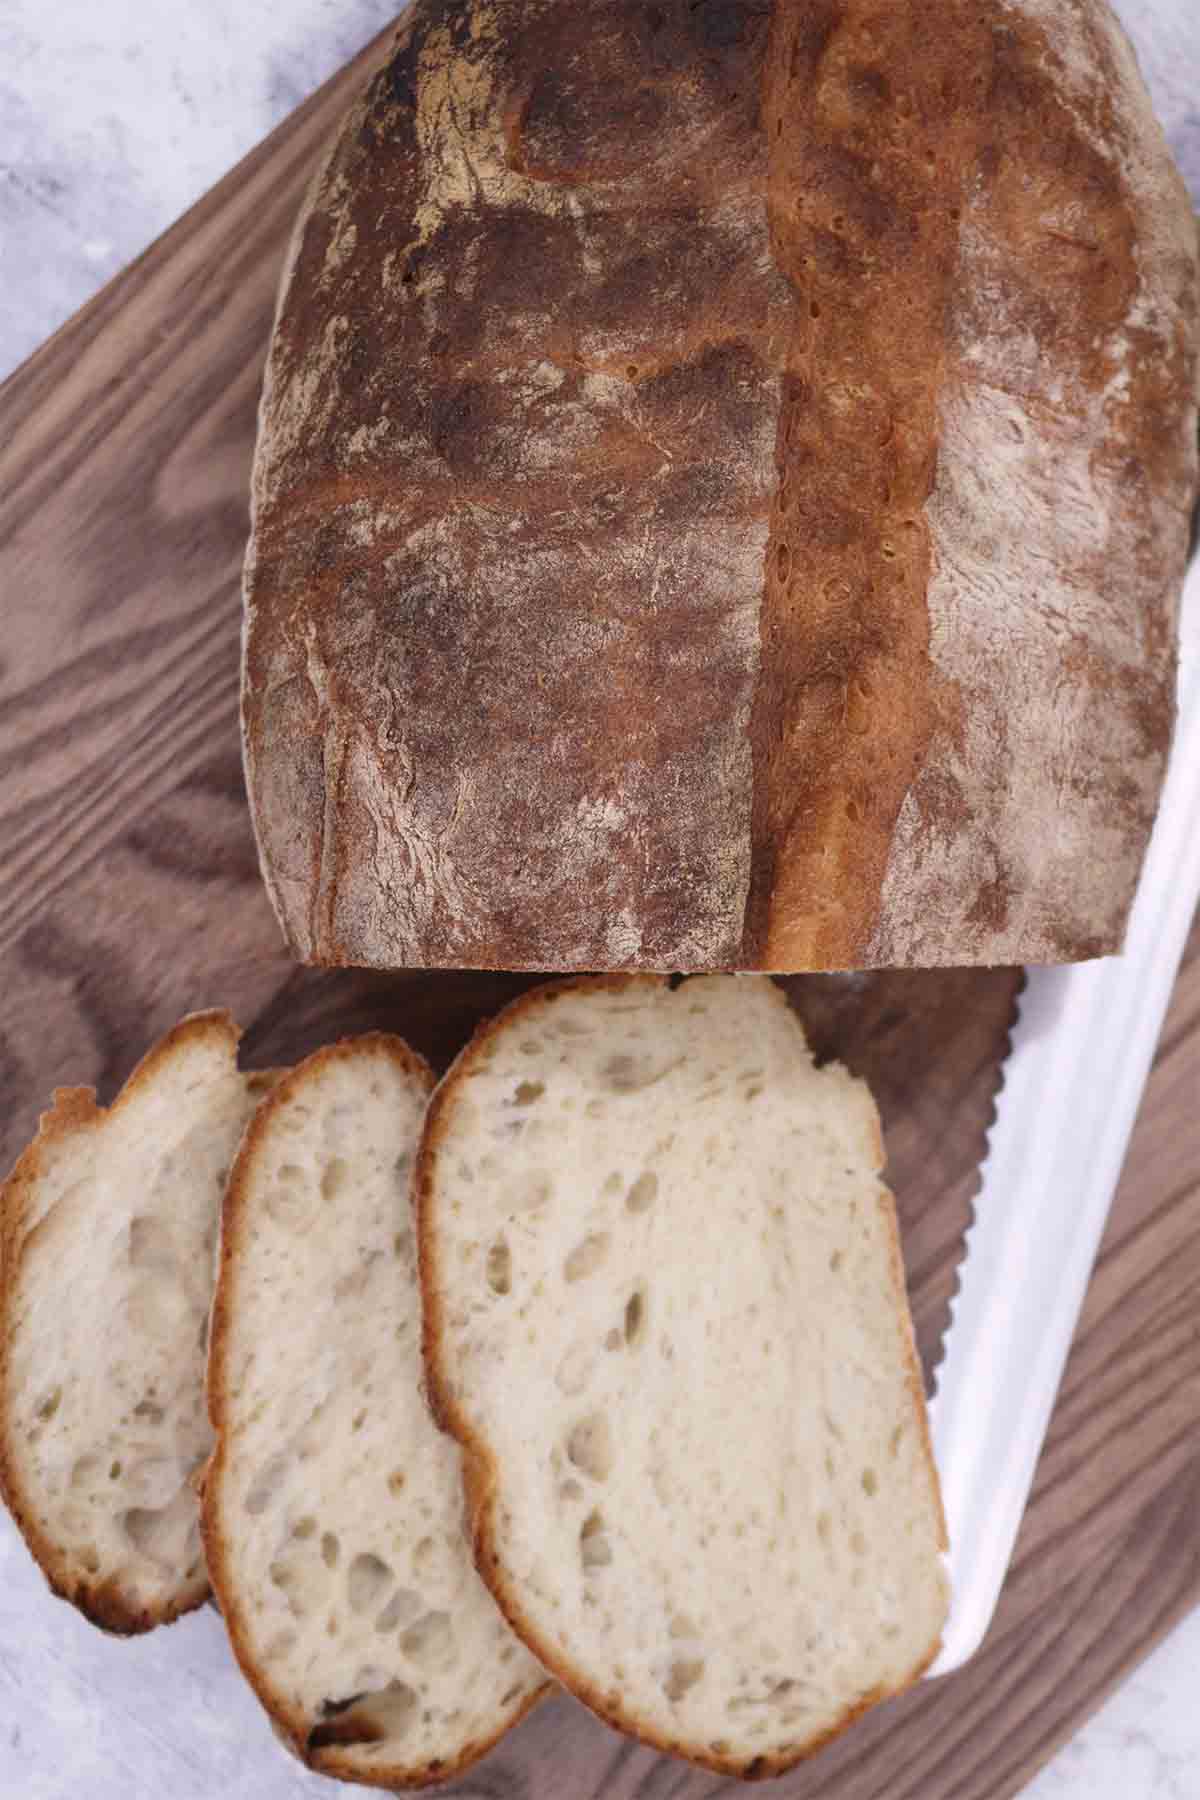
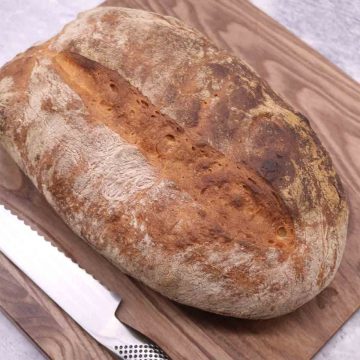
- Using the spatula, transfer the dough to a lightly floured surface. Without knocking out too much air, use a dough scraper/cutter to shape the dough into a loaf, tucking the sides of the dough underneath. Transfer the loaf shaped dough to the prepared baking tray, then using a sharp knife, cut a slit lengthways along the top then bake for 25 minutes at 250C fan. Reduce the temperature to 200C/180C fan and bake for a further 10 minutes, until the loaf sounds hollow when tapped underneath. Transfer to a wire rack to cool completely before serving.
Non-Thermomix Instructions
I'd suggest the recipe can easily be adapted using a stand mixer. My suggestions are as follows:
- Using a stand (food) mixer, place the water and flour in the bowl then mix for 20 seconds on a medium speed. Remove the bowl from the mixer, cover with cling film then leave to hydrate for 40 minutes.
- Add the yeast and salt (on separate sides of the dough), place the bowl back onto the mixer, using the dough hook, knead the dough for 6 minutes.
- Remove the bowl from the mixer, cover with cling film again and leave to rest in the bowl until doubled in size (approx. 2 hours). After 1.5 hours, preheat the oven to 270C/250C fan (see Cookidoo Tip) and dust a baking tray with flour.
- Using a spatula, transfer the dough to a lightly floured surface. Without knocking out too much air, use a dough scraper/cutter to shape the dough into a loaf, tucking the sides of the dough underneath. Transfer the loaf shaped dough to the prepared baking tray, then using a sharp knife, cut a slit lengthways along the top then bake for 25 minutes at 250C fan. Reduce the temperature to 200C/180C fan and bake for a further 10 minutes, until the loaf sounds hollow when tapped underneath. Transfer to a wire rack to cool completely before serving.

Recipe Collection Spotlight...
6 TASTY TACO RECIPES TO TICKLE YOUR TASTEBUDS!
We LOVE Mexican food...there's quite a few delicious recipes on Felly Bull, so I've picked out 6 tasty taco recipes to tickle your tastebuds!
Did you make this recipe?
I’d love to hear how it went…both good and bad!
Please go to the bottom of the page to rate the recipe and/or leave your comments.
It would also be great if you could take a photo and tag Felly Bull on social media, thanks.
Subscribe to receive our new and highlighted recipes in your email inbox each week...plus receive our new e-Cookbook for free!!!
Portuguese Water Bread (Thermomix)
Ingredients
- 550g water
- 720g strong white bread flour plus extra for dusting
- 1 tsp (7g) sachet dried instant yeast, or 10g fresh yeast, crumbled
- 10g salt
Instructions
- Place the water and flour in the mixing bowl then mix for 20 seconds/speed 6. Leave to hydrate for 40 minutes.
- Add the yeast and salt (on separate sides of the dough) then knead the dough for 6 minutes. Leave to rest in the mixing bowl until doubled in size (approx. 2 hours). After 1.5 hours, preheat the oven to 270C/250C fan (see Cookidoo Tip within the Notes below) and dust a baking tray with flour.
- Using the spatula, transfer the dough to a lightly floured surface. Without knocking out too much air, use a dough scraper/cutter to shape the dough into a loaf, tucking the sides of the dough underneath. Transfer the loaf shaped dough to the prepared baking tray, then using a sharp knife, cut a slit lengthways along the top then bake for 25 minutes at 250C fan. Reduce the temperature to 200C/180C fan and bake for a further 10 minutes, until the loaf sounds hollow when tapped underneath. Transfer to a wire rack to cool completely before serving.
Notes
Cookidoo Tip
- Some ovens don't go up to 250C fan, so bake your Portuguese water bread at 230C fan for 35 to 45 minutes until the loaf sounds hollow when tapped underneath.


LEAVE A COMMENT AND RATE THIS RECIPE